


Hey there! As a supplier of Swivel Levelling Feet, I'm stoked to share with you how to install these nifty little things. Swivel Levelling Feet are super handy, whether you're dealing with uneven floors for furniture, machinery, or other equipment. They provide stability and adjustability, making your life a whole lot easier.
Why Swivel Levelling Feet?
Before we dive into the installation process, let's quickly talk about why Swivel Levelling Feet are so great. These feet can rotate, which means they can adapt to uneven surfaces better than regular feet. They're also adjustable, so you can fine - tune the height of whatever they're attached to. This is especially useful for things like heavy machinery that needs to be perfectly level for optimal performance.
If you're interested in checking out our range of Swivel Levelling Feet, you can click Swivel Levelling Feet. We also have Adjustable Swivel Feet and Threaded Furniture Glides which might suit your needs.
Tools You'll Need
First things first, gather the tools you'll need for the installation. You won't need a whole bunch of fancy stuff. Here's a basic list:
- Screwdriver or Wrench: Depending on the type of Swivel Levelling Feet you have, you'll need either a screwdriver or a wrench. If they're screw - on feet, a screwdriver will do the trick. For nut - and - bolt style feet, a wrench is your best bet.
- Measuring Tape: It's important to make sure the feet are installed at the right spots. A measuring tape will help you get the spacing and alignment correct.
- Marker or Pencil: Use this to mark the spots where you'll be installing the feet.
Step 1: Prepare the Surface
The first step in installing Swivel Levelling Feet is to prepare the surface where you'll be attaching them. If it's a piece of furniture, make sure it's clean and free of any dirt, dust, or debris. You don't want anything getting in the way of a good installation.
If the surface is rough or uneven, you might want to sand it down a bit to create a smooth area for the feet to attach to. This will ensure a more secure fit.
Step 2: Measure and Mark
Now it's time to measure and mark the spots where you'll install the feet. The placement will depend on the size and shape of the item you're working on. For most furniture, you'll want to place the feet at the corners or along the edges for maximum stability.
Use your measuring tape to measure the distance from the edges and mark the spots with your marker or pencil. Make sure the marks are clear and easy to see. It's a good idea to double - check your measurements to avoid any mistakes.
Step 3: Drill Holes (if necessary)
Some Swivel Levelling Feet come with pre - drilled holes, but if yours don't, you'll need to drill holes in the marked spots. Make sure you use the right size drill bit for the screws or bolts that come with the feet.
When drilling, go slowly and steadily to avoid cracking or splitting the surface. If you're working on a delicate material like wood, you might want to use a piece of scrap wood underneath to prevent tear - out.
Step 4: Attach the Feet
Once you've prepared the surface and drilled the holes (if needed), it's time to attach the feet. If they're screw - on feet, simply line up the holes in the feet with the holes in the surface and start screwing them in. Use your screwdriver to tighten the screws until the feet are firmly attached.
For nut - and - bolt style feet, insert the bolts through the holes in the surface and then attach the feet. Use your wrench to tighten the nuts. Make sure the feet are tightened evenly to ensure proper alignment.
Step 5: Adjust the Height
After the feet are attached, it's time to adjust the height. This is where the magic of Swivel Levelling Feet really shines. Use a level to check if the item is level. If it's not, simply turn the feet clockwise or counterclockwise to raise or lower them.
Keep adjusting until the item is perfectly level. It might take a few tries, but once you get it right, you'll notice a big difference in the stability of the item.
Step 6: Test the Installation
Once you've adjusted the height, give the item a little shake to test the installation. Make sure the feet are firmly attached and that the item doesn't wobble. If it does, go back and check the tightness of the screws or bolts and make any necessary adjustments.
Troubleshooting
Sometimes, things don't go as smoothly as we'd like. Here are some common issues you might encounter during the installation and how to fix them:
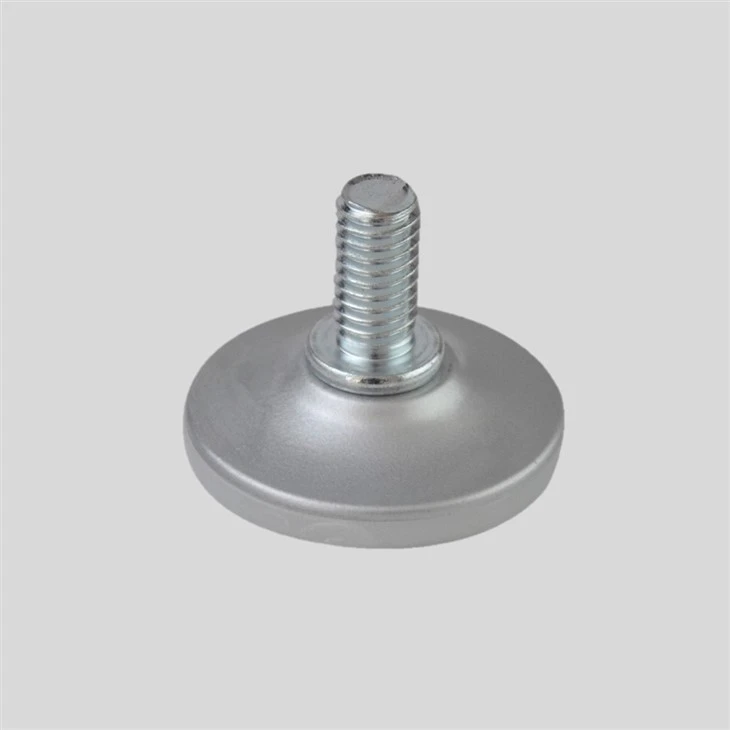

- Feet won't tighten properly: If the feet won't tighten, check to make sure the holes are the right size. You might need to use a larger or smaller drill bit. Also, make sure there's no debris in the holes or on the threads of the screws or bolts.
- Item is still wobbly: If the item is still wobbly after adjusting the feet, double - check the placement of the feet. They might not be in the right spots. You can also try adjusting the height of the feet a little more.
- Screws or bolts are stripping: If the screws or bolts are stripping, try using a different type of fastener. You might also need to drill new holes and use a larger size.
Conclusion
Installing Swivel Levelling Feet isn't rocket science, but it does require a little bit of attention to detail. By following these steps, you can ensure a successful installation and enjoy the benefits of a more stable piece of furniture or equipment.
If you're in the market for high - quality Swivel Levelling Feet, Adjustable Swivel Feet, or Threaded Furniture Glides, don't hesitate to reach out to us. We're here to help you find the right products for your needs and answer any questions you might have. Whether you're a DIY enthusiast or a professional, we've got the products and expertise to support you.
References
- General knowledge of furniture and equipment installation
- Experience as a Swivel Levelling Feet supplier